

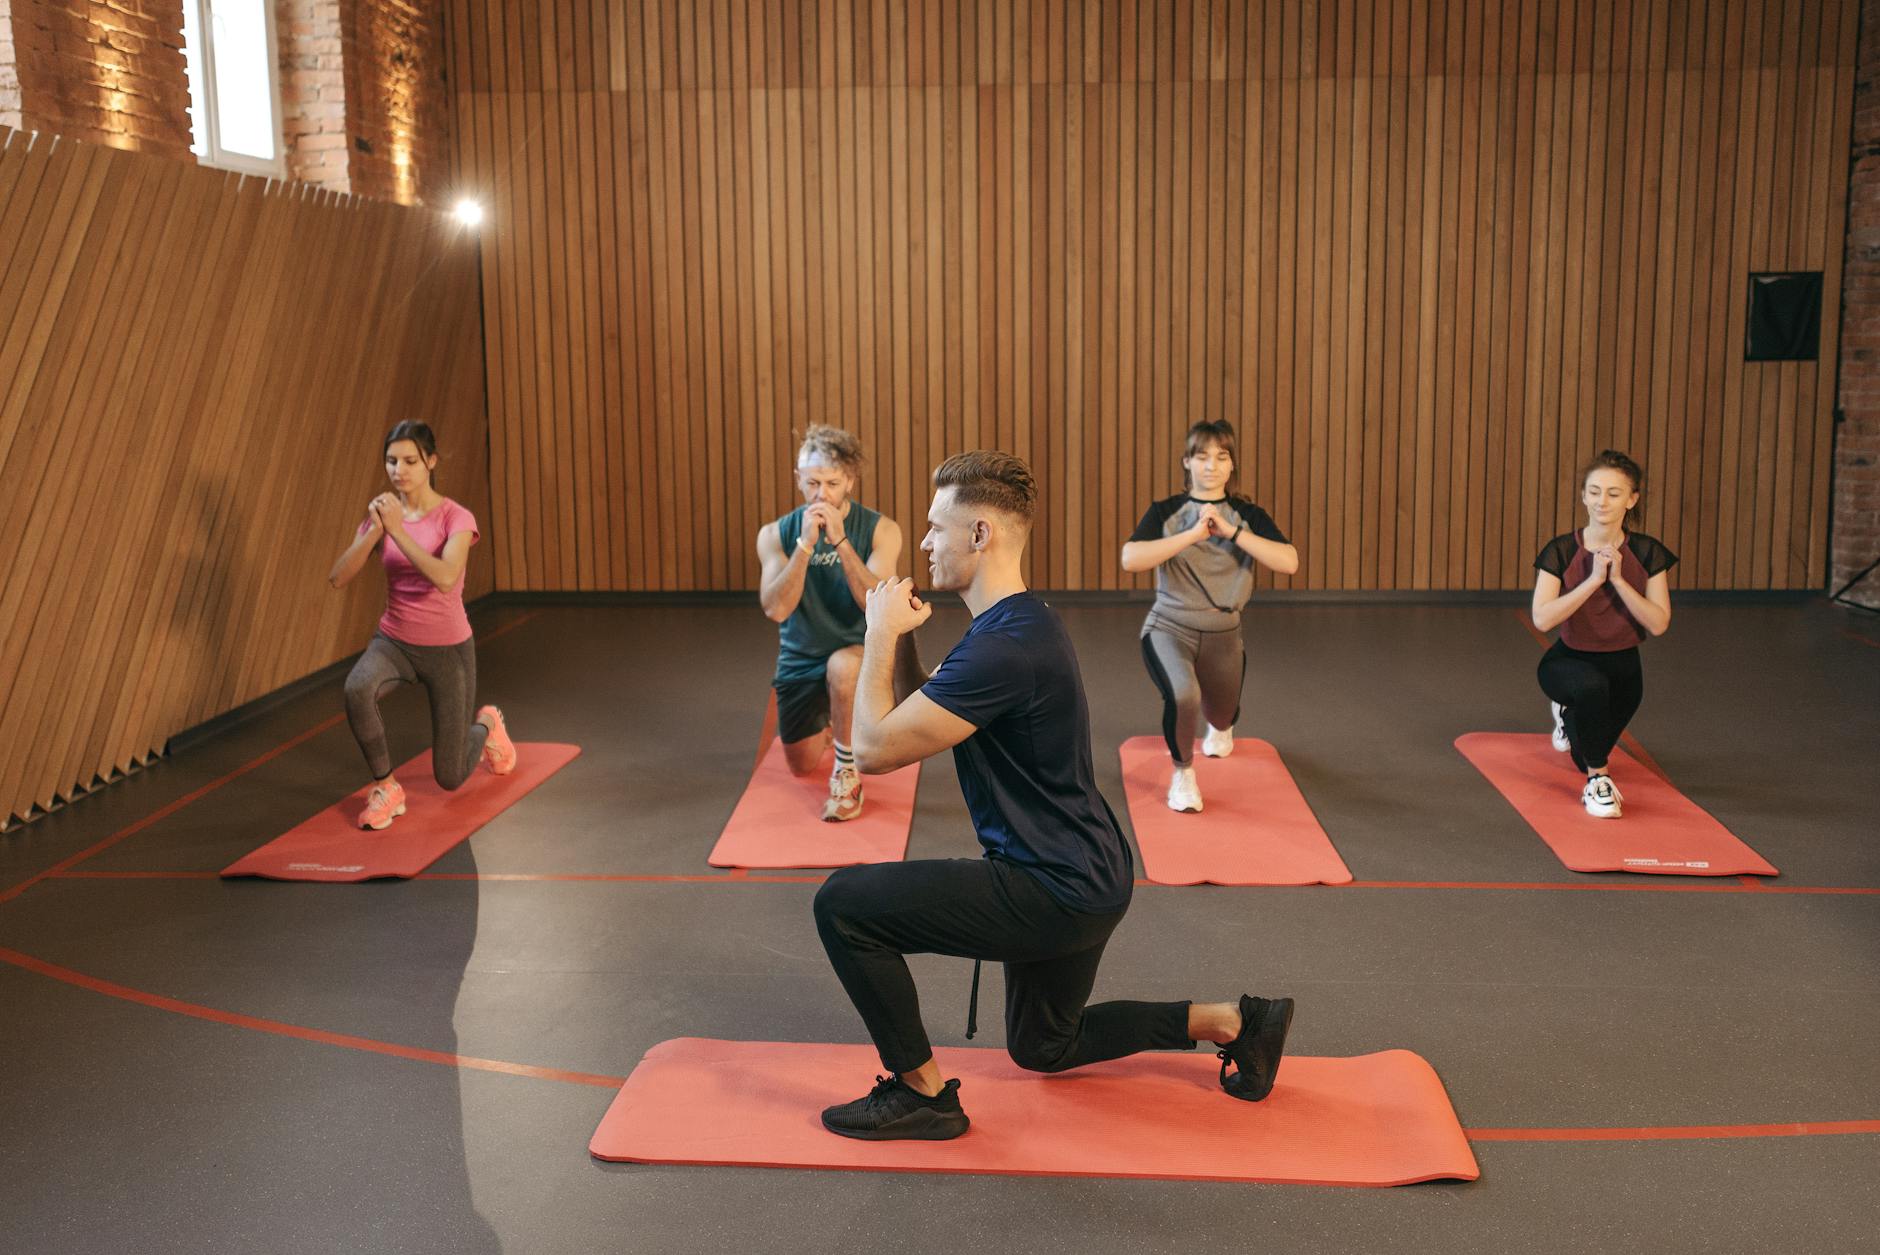
Are you tired of that nagging back pain that just won’t go away? 😩 You’re not alone. Millions of people worldwide suffer from chronic back pain, affecting their daily lives and overall well-being. But what if we told you that relief might be just a yoga mat away? 🧘♀️
Yoga, an ancient practice that combines physical postures, breathing techniques, and meditation, has been proven to be an effective remedy for back pain. By strengthening core muscles, improving flexibility, and promoting proper alignment, yoga can work wonders for your aching back. The best part? You don’t need to be a yoga expert to reap the benefits!
In this blog post, we’ll explore the Top 5 Yoga Poses for Back Pain Relief that you can easily incorporate into your daily routine. From the gentle Child’s Pose to the invigorating Downward-Facing Dog, we’ll guide you through each pose, explaining how it targets specific areas of your back and helps alleviate pain. So, grab your yoga mat and get ready to say goodbye to back pain and hello to a more comfortable, flexible you! 🌟
Understanding Back Pain and Yoga

Common causes of back pain
Back pain can stem from various factors, affecting people of all ages and lifestyles. Here are some of the most common causes:
- Poor posture
- Sedentary lifestyle
- Muscle strain or sprain
- Herniated or bulging discs
- Arthritis
- Osteoporosis
- Stress and tension
| Cause | Description |
|---|---|
| Poor posture | Puts unnecessary strain on the spine and muscles |
| Sedentary lifestyle | Weakens core muscles, leading to instability |
| Muscle strain/sprain | Often caused by lifting heavy objects or sudden movements |
| Herniated discs | Occurs when the soft inner material of a disc protrudes through the outer layer |
How yoga can help alleviate back pain
Yoga offers numerous benefits for those suffering from back pain:
- Improves flexibility and range of motion
- Strengthens core muscles
- Promotes better posture
- Reduces stress and tension
- Enhances body awareness
By practicing yoga regularly, individuals can address many of the underlying causes of back pain and promote overall spinal health.
Importance of proper form and breathing
When practicing yoga for back pain relief, it’s crucial to maintain proper form and focus on breathing:
- Correct alignment prevents further injury and maximizes benefits
- Deep, controlled breathing helps relax muscles and reduce tension
- Mindful movement increases body awareness and promotes healing
Proper form and breathing techniques ensure that you’re getting the most out of your yoga practice while minimizing the risk of exacerbating existing back issues. As we explore specific yoga poses for back pain relief, keep these principles in mind to maximize their effectiveness.
Child’s Pose (Balasana)

Step-by-step instructions
- Start in a kneeling position on your mat
- Spread your knees wide apart, keeping your big toes touching
- Sit back on your heels
- Exhale and fold forward, lowering your chest between your thighs
- Extend your arms forward, palms down
- Rest your forehead on the mat
- Hold for 30 seconds to 5 minutes, breathing deeply
Benefits for back pain relief
Child’s Pose offers numerous benefits for those suffering from back pain:
| Benefit | Description |
|---|---|
| Spinal Elongation | Gently stretches and lengthens the spine |
| Muscle Relaxation | Releases tension in back, shoulders, and neck |
| Stress Reduction | Promotes relaxation and reduces overall tension |
| Improved Circulation | Increases blood flow to the back muscles |
Modifications for beginners
For those new to yoga or with limited flexibility, try these modifications:
- Place a folded blanket between your thighs and calves for added comfort
- Use a pillow under your forehead if it doesn’t reach the mat
- Keep knees closer together if spreading them wide is uncomfortable
- Rest arms alongside your body instead of extending them forward
Remember to listen to your body and never push beyond your limits. With regular practice, you’ll gradually increase flexibility and experience greater pain relief.
Cat-Cow Stretch (Marjaryasana-Bitilasana)

Proper technique
The Cat-Cow Stretch, also known as Marjaryasana-Bitilasana, is a gentle and effective yoga sequence for back pain relief. To perform this pose:
- Begin on your hands and knees in a tabletop position
- Ensure your wrists are aligned under your shoulders and knees under your hips
- For the Cat pose (Marjaryasana):
- Exhale and round your spine towards the ceiling
- Tuck your chin to your chest
- Draw your navel towards your spine
- For the Cow pose (Bitilasana):
- Inhale and lift your chest and tailbone towards the ceiling
- Allow your belly to relax towards the floor
- Lift your gaze slightly
| Cat Pose | Cow Pose |
|---|---|
| Rounded spine | Arched spine |
| Tucked chin | Lifted gaze |
| Navel drawn in | Relaxed belly |
Spinal flexibility and pain reduction
The Cat-Cow Stretch offers numerous benefits for back pain relief:
- Improves spinal mobility and flexibility
- Stretches the back, neck, and torso
- Strengthens abdominal muscles
- Massages and stimulates organs in the belly
Incorporating breath work
Coordinating your breath with the movement enhances the pose’s effectiveness:
- Inhale deeply as you move into Cow pose
- Exhale fully as you transition to Cat pose
- Maintain a steady, rhythmic breath throughout the sequence
- Aim for 5-10 breath cycles, or more if comfortable
By focusing on your breath, you’ll deepen the stretch and promote relaxation, further alleviating back pain. This mindful breathing also helps reduce stress, which can contribute to muscle tension and discomfort in the back.
Downward-Facing Dog (Adho Mukha Svanasana)

Correct alignment
Proper alignment is crucial for maximizing the benefits of Downward-Facing Dog. Start on your hands and knees, then lift your hips towards the ceiling, forming an inverted V-shape with your body. Here’s a breakdown of the key alignment points:
- Hands: Shoulder-width apart, fingers spread wide
- Feet: Hip-width apart, heels pressing towards the ground
- Spine: Long and straight, tailbone reaching towards the ceiling
- Head: Between your upper arms, gaze towards your feet
| Body Part | Alignment |
|---|---|
| Arms | Straight, inner elbows facing each other |
| Shoulders | Away from ears, blades pressing towards ribs |
| Hips | Lifted high, sit bones pointing up |
| Legs | Straight or slightly bent, quads engaged |
Stretching and strengthening benefits
Downward-Facing Dog offers a multitude of benefits for back pain relief:
- Elongates the spine, creating space between vertebrae
- Strengthens the arms, shoulders, and core muscles
- Stretches hamstrings, calves, and Achilles tendons
- Improves circulation to the brain and upper body
Variations for different fitness levels
Adapt the pose to suit your needs:
- Beginner: Keep knees slightly bent, use a wall for support
- Intermediate: Hold the classic pose, focusing on breath
- Advanced: Try one-legged variations or forearm downward dog
Duration and frequency recommendations
For optimal back pain relief, practice Downward-Facing Dog:
- Hold for 30-60 seconds per session
- Repeat 3-5 times during each yoga practice
- Incorporate into your routine 3-4 times per week
As you become more comfortable with the pose, gradually increase the duration and frequency. Remember to listen to your body and never push beyond your limits. With consistent practice, you’ll likely notice significant improvements in your back pain and overall flexibility.
Sphinx Pose (Salamba Bhujangasana)
How to perform the pose
To perform the Sphinx Pose:
- Lie face down on your yoga mat
- Place your forearms on the mat, elbows directly under your shoulders
- Press your palms and forearms into the mat
- Lift your upper body, keeping your lower body and hips on the mat
- Engage your core and lengthen your spine
- Hold the pose for 30 seconds to 1 minute, breathing deeply
| Step | Action |
|---|---|
| 1-2 | Positioning |
| 3-4 | Lifting |
| 5-6 | Engaging and holding |
Lower back strengthening effects
The Sphinx Pose offers several benefits for lower back strength:
- Gently compresses the lower spine, increasing blood flow
- Strengthens the erector spinae muscles along the spine
- Improves posture by opening the chest and shoulders
- Helps alleviate lower back pain and stiffness
Precautions and contraindications
While beneficial, the Sphinx Pose may not be suitable for everyone:
- Avoid if you have a recent or chronic back injury
- Those with herniated disks should consult a doctor before attempting
- Pregnant women in the second or third trimester should use caution
- If you experience pain during the pose, release immediately and consult a yoga instructor
Remember to listen to your body and modify the pose as needed. With regular practice, the Sphinx Pose can be an effective tool for back pain relief and overall spinal health.
Supine Twist (Jathara Parivartanasana)

Execution guide
To perform the Supine Twist:
- Lie on your back with knees bent and feet flat on the floor
- Extend arms out to form a T-shape
- Drop knees to one side while keeping shoulders grounded
- Turn head in opposite direction of knees
- Hold for 30-60 seconds, then repeat on the other side
Spinal decompression benefits
| Benefit | Description |
|---|---|
| Relieves pressure | Lengthens spine and creates space between vertebrae |
| Improves flexibility | Increases range of motion in spine and hips |
| Reduces tension | Releases tightness in back muscles and fascia |
Combining with other poses for maximum relief
For a comprehensive back pain relief sequence, try:
- Child’s Pose → Cat-Cow Stretch → Downward-Facing Dog → Sphinx Pose → Supine Twist
This combination targets different areas of the back and promotes overall spinal health.
Tips for deeper relaxation
- Focus on deep, slow breathing throughout the pose
- Visualize tension melting away with each exhale
- Use a bolster or pillow under knees for added support
- Gently massage lower back while in the twist to enhance relaxation
The Supine Twist is an excellent way to conclude your yoga practice, as it helps to realign the spine and promotes a sense of calm. By incorporating this pose regularly, you can significantly reduce back pain and improve overall flexibility.
Incorporating yoga into your daily routine can be a game-changer for managing and relieving back pain. The five poses discussed – Child’s Pose, Cat-Cow Stretch, Downward-Facing Dog, Sphinx Pose, and Supine Twist – offer a comprehensive approach to stretching, strengthening, and aligning your spine. Each pose targets different aspects of back health, from gentle stretching to core engagement and spinal flexibility.
Remember, consistency is key when practicing yoga for back pain relief. Start slowly, listen to your body, and gradually increase the duration and intensity of your practice. If you’re new to yoga or have chronic back issues, it’s always wise to consult with a healthcare professional or a certified yoga instructor before beginning any new exercise regimen. By dedicating just a few minutes each day to these poses, you can take significant steps towards a healthier, pain-free back and overall improved well-being.
�